Get Started - IntelliJ IDEA
IntelliJ IDEA is a light-weight IDE for Java, developed by JetBrains. The following instructions will get you set up for developing with ADAMS.
The following instructions are for IntelliJ IDEA 14.x. Later versions changed how multi-module Maven projects get imported: it imports them in a flat structure rather than grouped per top-level project, which means that you have to group them yourself again in the Project structure dialog.
Setting up ADAMS
You can import ADAMS using the start screen of IntelliJ by clicking on Import project:
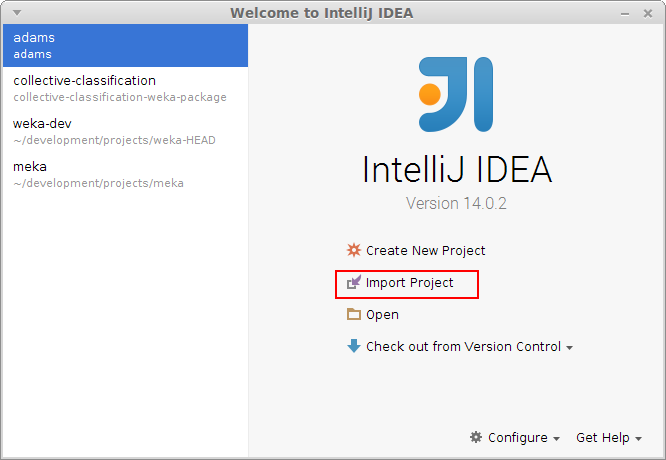
Or by selecting File -> Import project... from the main menu.
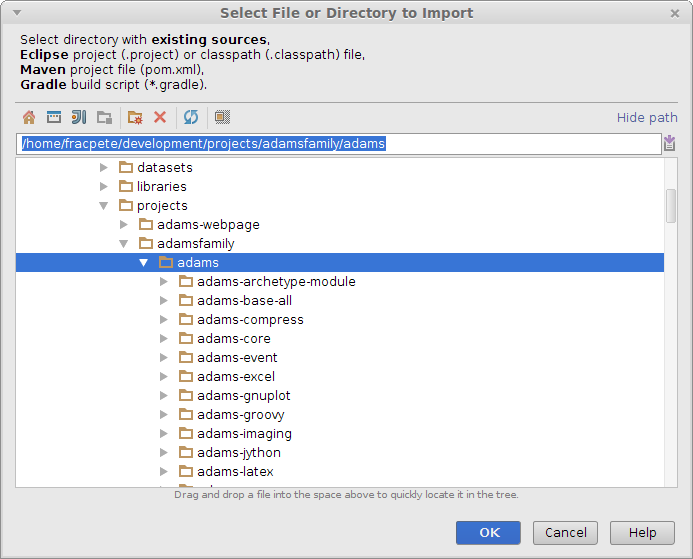
Then, select the top-level directory of ADAMS and import it as Maven project:
import module from external model: Maven
check import Maven projects automatically
check create module groups for multi-module Maven projects
select any relevant Maven profiles (or just use all of them)
If you want to add other projects, like adams-addons or adams-incubator, you must import them via File -> Project structure... from the main menu. There, select Modules and when clicking on the green plus sign, select Import module.
Configuring the JDK
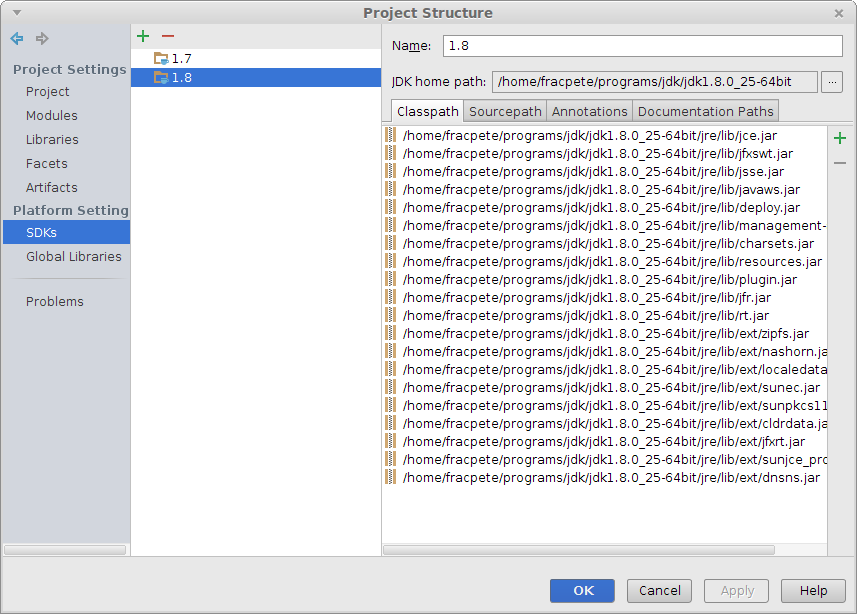
Once you've imported ADAMS, you can configure the JDK that you want to use (1.8 at the time of writing). For this, open Project structure from the main menu.
Under SDKs you can define all the SDKs that you want to be able to use (simply click on + and select the top-level directory of your JDK):
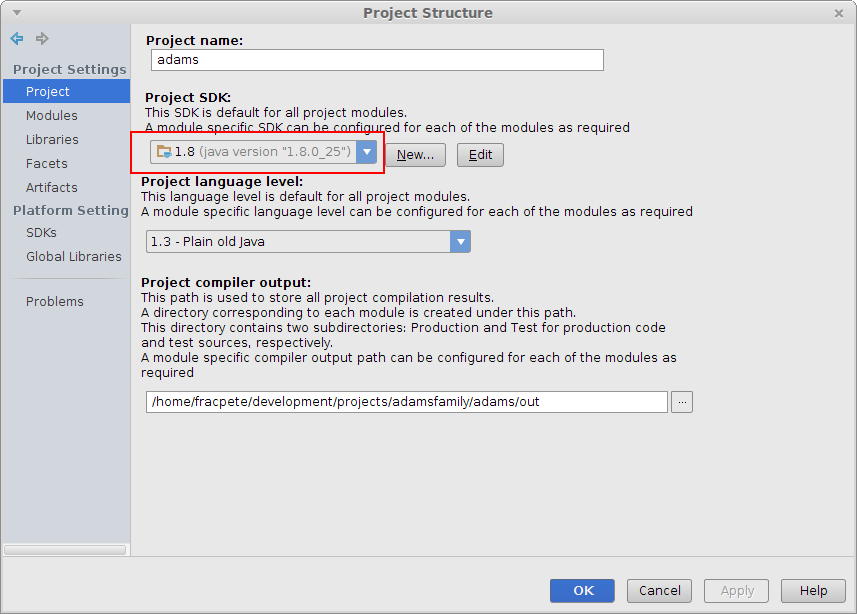
And under Project, you can then select the SDK that you want to use for the project:
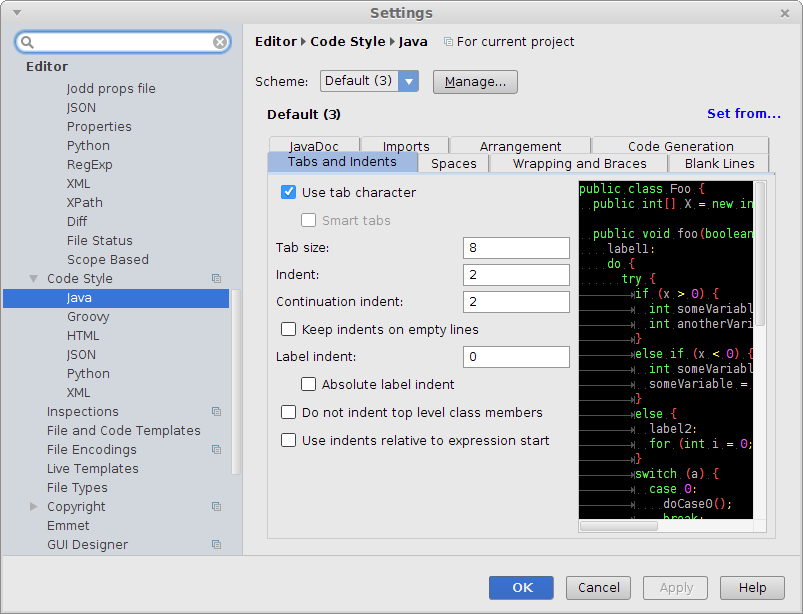
Code formatting
ADAMS uses mixed spaces/tabs for indentation, with indentation being 2 spaces and a tab representing 8 spaces.
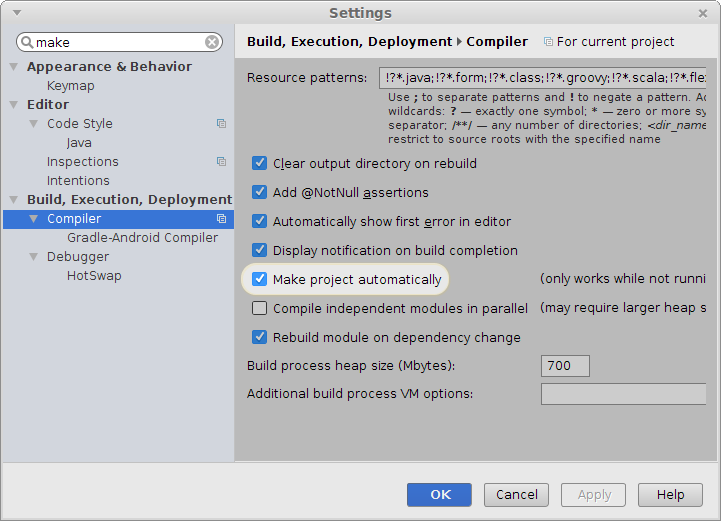
Automatically compile projects
Usually, you don't want to compile when you launch the application, but whenever you change the code. Hence, enable auto make:
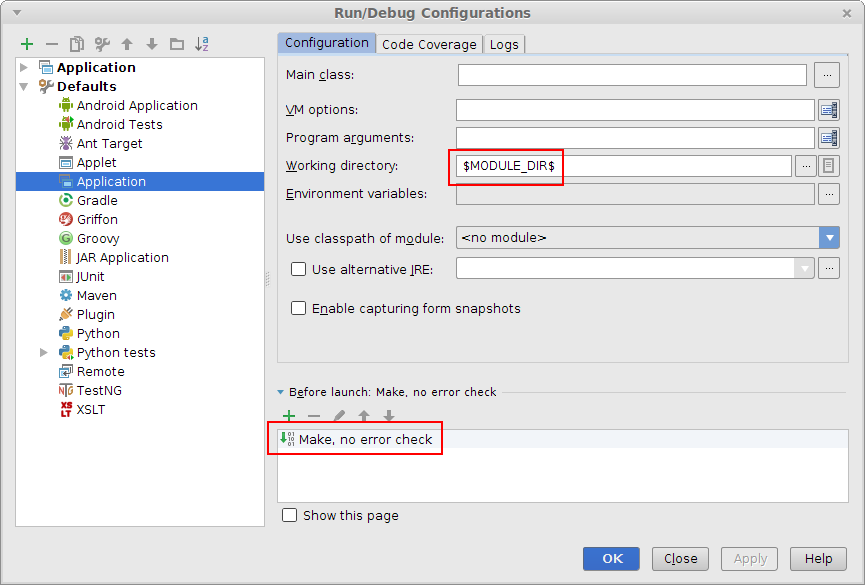
Application defaults
Despite having auto make enabled, it pays off to have a build action before
launching applications. Hence change the Before launch action to use Make, no
error check. Furthermore, you will most likely have the module's top level
directory as the default working directory when starting up the application.
You can set this using the $MODULE_DIR$ variable.
Color themes
There are a plethora of color themes for IntelliJ out there, in case you don't like the ones it is shipped with:
Launching ADAMS
For creating a launcher (or Run configuration), you select Run -> Edit
configurations... from the main menu. When clicking on the +, use Application
as template and fill in adams.gui.Main as the main class and the amount of RAM
that you want to use, eg 2GB:

For making it work with Java's modular framework, it is advised to specify the following JVM parameters:
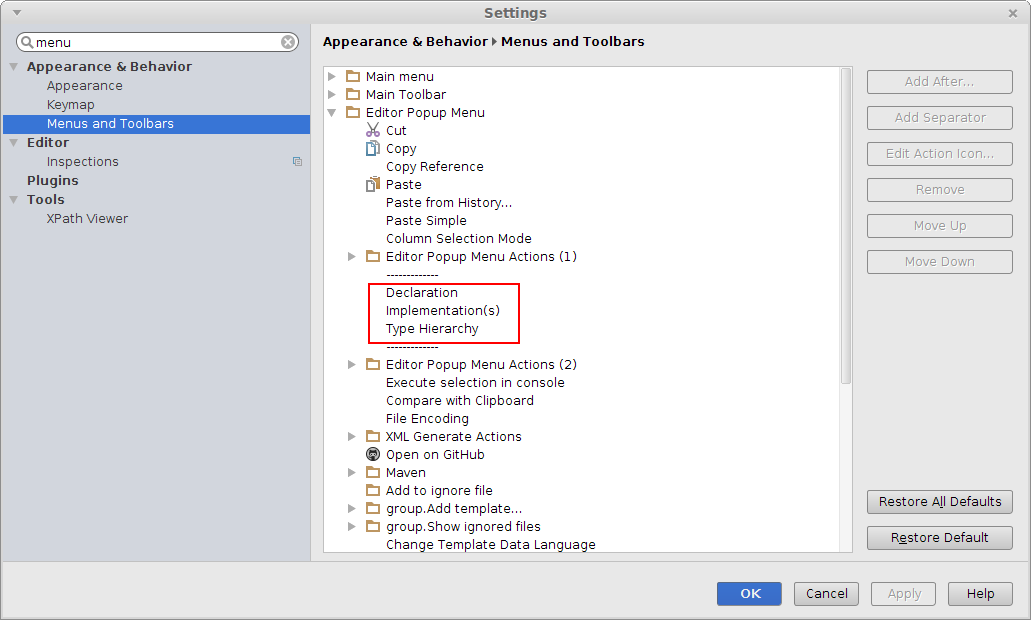
Editor menu
Rather than always using the Find action functionality via Ctrl+Shift+A, it
sometimes pays off to simply adjust the corresponding menu. For instance,
bringing up the type hierarchy for a class or the implementations or
declaration of a method, is something frequently used in a larger
framework. Here is what the modified Editor Popup Menu looks like:
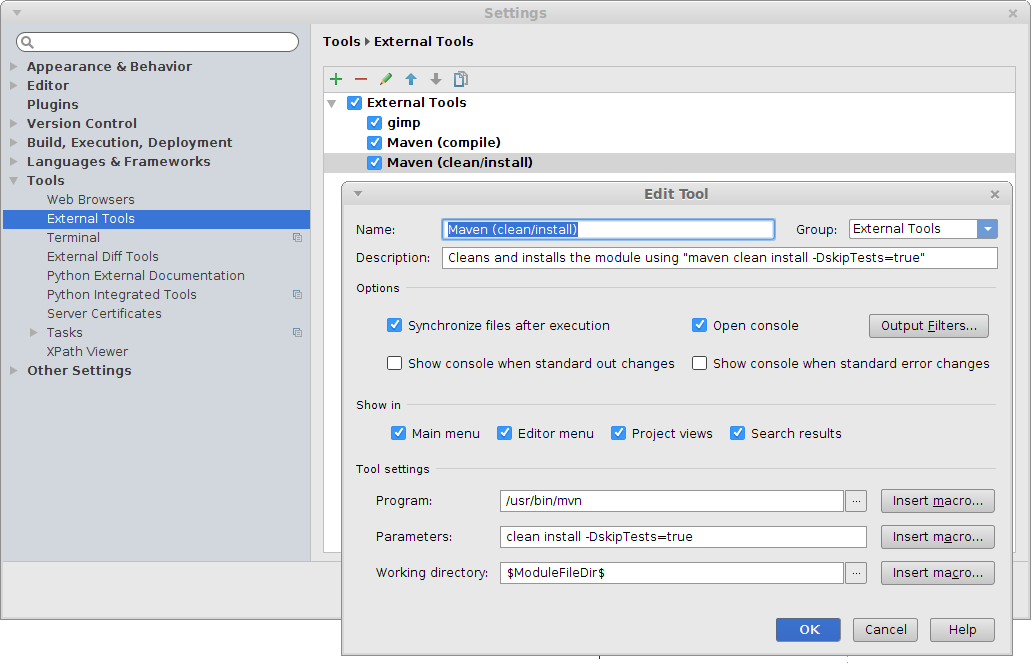
External tools
Whether you want to launch your image editing tool (e.g., Gimp for creating icons) or launching Maven to auto-generate code (e.g., when using Apache CXF), then you can use IDEA's External tools facility:
Troubleshooting
For large projects like ADAMS you may have to increase the heapsize for the Maven Importer in your settings, as 512MB might not be enough, and despite the code compiling on the command-line, IntelliJ IDEA listing lots of failed imports from other modules. Use something like
-Xmx1024min Build Tools -> Maven -> Maven -> VM Options for importer.